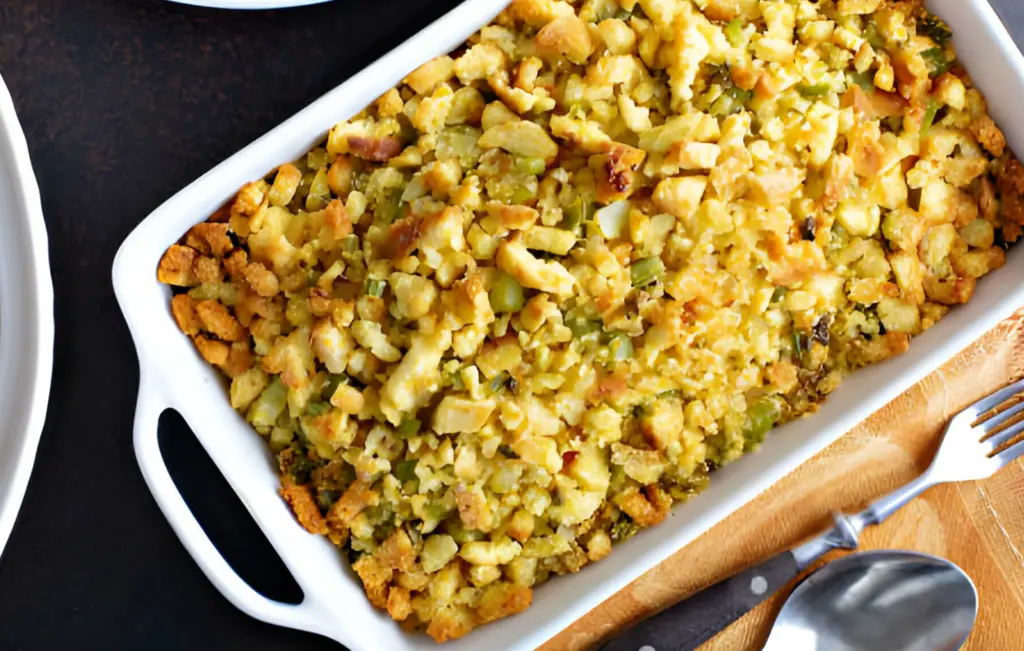
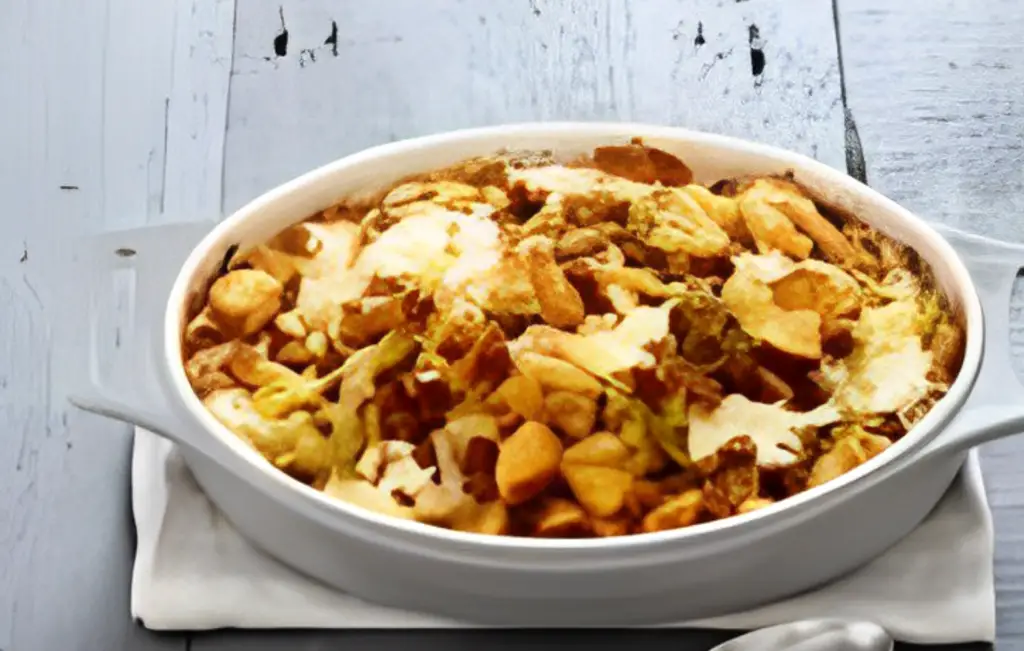
- When to Cook Make-Ahead Stuffing
Timing is everything when it comes to preparing your stuffing in advance. Ideally, you want to prepare your stuffing no more than two months ahead if you’re freezing it, ensuring it retains its optimal flavor and texture. If you’re opting to refrigerate, aim to use it within seven days to maintain freshness and prevent any food safety issues.
- How to Store Make-Ahead Stuffing
Once your stuffing is prepared, cooling it quickly and storing it properly is crucial. For freezing, spread your stuffing in a thin layer in airtight containers or zip-lock bags, pressing out as much air as possible. This method not only saves space but also facilitates quicker thawing. Refrigeration requires a similar approach, with the stuffing placed in airtight containers to keep it moist and prevent it from absorbing odors.
- How to Reheat Make-Ahead Stuffing
Reheating is where the magic happens, transforming your chilled or frozen stuffing back into a warm, comforting side dish. For frozen stuffing, allow it to thaw completely in the refrigerator before reheating. To reheat, preheat your oven to 350°F (175°C), transfer the stuffing to a baking dish, and cover with foil. Bake until it’s heated through, about 45 minutes, adding a splash of broth or water if needed to keep it moist. Remember, the goal is to reach an internal temperature of 165°F (74°C) to ensure it’s safe to eat.

Herbed Wild Rice: Ingredients and Preparation Guide
Ingredients:
- 1 cup wild rice: The star of the show, wild rice brings a chewy texture and a nutty flavor to dishes.
- 2 1/2 cups chicken or vegetable broth: Using broth instead of water infuses the rice with extra flavor.
- 1 bay leaf: adds a subtle depth and fragrance to the rice.
- 1/2 teaspoon salt: enhances the natural flavors of the rice and herbs.
- 1 tablespoon olive oil or butter: adds richness and helps to toast the rice, unlocking its nutty aroma.
- 1/2 cup diced onions: Offers a slight sweetness and crunch.
- 1/4 cup diced celery: adds a fresh, slightly peppery taste.
- 1 teaspoon minced garlic: A hint of garlic brings warmth and complexity.
- 1 tablespoon fresh thyme, chopped: Thyme provides a lemony, earthy flavor that complements wild rice beautifully.
- 1 tablespoon fresh rosemary, chopped: Rosemary’s piney aroma is a perfect match for the hearty wild rice.
- 1 tablespoon fresh parsley, chopped: Adds a burst of freshness and color to the dish.
Preparation:
- Rinse the Wild Rice: Begin by thoroughly rinsing the wild rice under cold water to remove any debris and to start the hydration process.
- Toast the rice: In a medium saucepan, heat the olive oil or melt the butter over medium heat. Add the wild rice and toast it for a few minutes until it starts to give off a nutty aroma. This step enhances the rice’s natural flavors.
- Sauté the Aromatics: Add the diced onions, celery, and minced garlic to the saucepan. Sauté until the vegetables are soft and translucent, about 3–5 minutes.
- Add Liquid and Herbs: Pour in the chicken or vegetable broth, then add the bay leaf, salt, thyme, and rosemary. Stir to combine.
- Cook the wild rice: Bring the mixture to a boil, then reduce the heat to low. Cover and simmer for about 45–55 minutes, or until the rice is tender and has absorbed most of the liquid. Wild rice takes longer to cook than white rice, so patience is key.
- Finish with Parsley: Once the rice is cooked, remove the bay leaf and fluff the rice with a fork. Stir in the fresh parsley for a pop of color and freshness.
- Serve or Mix: Your herbed wild rice is now ready to be served as a standalone side dish or mixed into other recipes, such as stuffing, to add texture, flavor, and a gourmet touch.
Ensuring Moistness and Flavor
The key to successful make-ahead stuffing is retaining its moistness and flavor. Adding a bit of extra liquid before reheating can help revive the stuffing, making it just as delicious as when it was first made. Whether you’re using broth, water, or even a pat of butter, these small additions can make a big difference in the end result.
By following these steps, you can ensure your boxed stuffing is not just a convenient side dish but a highlight of your holiday meal. Preparing ahead doesn’t mean sacrificing quality or flavor; with a little know-how, your stuffing can be a testament to your culinary prowess, leaving your guests none the wiser that it was made days or even weeks in advance. Now, let’s move on to some recipe variations and enhancements that will take your boxed stuffing from good to great.
Recipe Variations and Enhancements
Now that we’ve mastered the art of making boxed stuffing ahead of time, let’s sprinkle in some creativity. Elevating your stuffing from the standard box mix to a dish that dazzles on your holiday table is easier than you might think. Here are some inspired variations and enhancements to infuse your stuffing with extra flavor and flair.
Make-Ahead Stuffing Recipes
Transforming your boxed stuffing into a gourmet side dish is all about the add-ins and tweaks. Let’s explore a few recipes that are not only make-ahead-friendly but are sure to impress your guests.
- Southern Cornbread Dressing
Give your stuffing a Southern twist by incorporating cornbread. Start with your basic boxed stuffing mix, then add crumbled cornbread, sautéed onions, celery, and a generous helping of sage and thyme. The cornbread adds a delightful sweetness and texture that pairs beautifully with the savory elements of the traditional stuffing.
For a hearty, meaty version, fold cooked, crumbled sausage into your stuffing mix. Choose a sausage with herbs and spices that complement your stuffing’s flavor profile—Italian sausage works wonderfully for an extra kick. The sausage not only adds depth and richness but also makes the stuffing a more substantial side that could almost stand as a dish on its own.
- Herbed Wild Rice Dressing
Elevate your stuffing to new heights with the addition of wild rice and a medley of fresh herbs. Cook the wild rice according to package instructions, then mix it into your prepared stuffing along with freshly chopped parsley, rosemary, and thyme. The wild rice introduces a nutty flavor and chewy texture, while the fresh herbs brighten the dish, making it a refreshing counterpart to the richer flavors on your holiday table.
Tips for Customizing Boxed Stuffing
- Fruit and Nuts: Add dried cranberries, chopped apples, or toasted pecans for a touch of sweetness and crunch.
- Vegetable Variations: Sauté additional vegetables like mushrooms, leeks, or carrots and mix them into your stuffing for an extra dose of flavor and color.
- Liquid Love: Instead of water, use chicken or vegetable broth as the liquid in your stuffing mix. It’s a simple swap that significantly boosts the overall taste.
- Butter Bits: For an indulgent twist, dot the top of your stuffing with small pats of butter before reheating. It adds a rich, golden crust to the top layer.
By incorporating these recipes and tips, your boxed stuffing will transform into a memorable masterpiece that might just steal the show. Remember, the best part about starting with a boxed mix is the freedom to experiment without the pressure of perfection. So, go ahead, get creative, and watch as your make-ahead stuffing becomes a new holiday tradition.
Next, we’ll tackle some frequently asked questions that might arise as you embark on your make-ahead stuffing journey, ensuring you’re fully equipped to handle anything the holiday cooking season throws your way.
Frequently Asked Questions
As you venture into the realm of making boxed stuffing ahead of time, questions are bound to arise. Whether it’s concerns about food safety, flavor preservation, or just general curiosity, we’ve got the answers to some of the most commonly asked questions. Let’s clear up any confusion and ensure your stuffing is nothing short of spectacular.
Can you freeze boxed stuffing after preparation?
Absolutely! Freezing is a fantastic way to extend the shelf life of your make-ahead stuffing. Just ensure it’s cooled to room temperature before sealing it in an airtight container or freezer bag. Properly stored, your stuffing can be frozen for up to two months without losing its quality. When you’re ready to serve, thaw it in the refrigerator before following the reheating instructions.
How long can you keep stuffing in the refrigerator before it spoils?
If you prefer to refrigerate your prepared stuffing, it will stay fresh for up to seven days. Store it in an airtight container to prevent it from drying out or absorbing odors from other foods. This short-term option is perfect for those who plan a little ahead but not weeks in advance.
Tips for Keeping Stuffing Moist After Reheating
Reheating stuffing? Keep it moist with these simple steps:
- Add Liquid: A sprinkle of broth or water before reheating can work wonders.
- Cover tightly: Use aluminum foil to trap steam and moisture.
- Avoid overheating: Warm it just enough to avoid drying out.
Is Stuffing a Turkey with Make-Ahead Stuffing Safe?
Stuffing a turkey with make-ahead stuffing? Be cautious. The stuffing should be cold to prevent bacteria. Ensure both turkey and stuffing hit 165°F (74°C) for safety. Yet, cooking stuffing separately is often recommended for both cooking and safety.
Can I add fresh ingredients to pre-made stuffing?
Absolutely! Fresh herbs, sautéed veggies, or broth can rejuvenate your stuffing. Mix well to blend the flavors.
With these FAQs tackled, you’re set to stuff with ease. Preparation, storage, and a dash of creativity are your best tools. Your boxed stuffing will not only be convenient but also irresistibly tasty.
Conclusion
Mastering boxed stuffing ahead of time simplifies holiday cooking and enhances flavor. This guide has led you through preparation, storage, reheating, and customizing. Remember, holiday cooking’s heart is in the joy and love shared. With these insights, your stuffing will not just save time but also enrich your holiday traditions. Cheers to a season of delightful food, wonderful company, and perfect make-ahead stuffing. Happy holidays!

